Diy Wet Palette
Have you ever struggled to keep your paint wet while working on a painting project? Have you ever had to stop what you're doing just to mix your paints again and again? A DIY wet palette might just be the solution you need.
When it comes to painting, you want to be as efficient as possible. However, constantly stopping to mix your paints can be a big pain point. It can also be frustrating when your paint dries out too quickly, leaving you with crusty and unusable paint.
The target of a DIY wet palette is to keep your paint moist and workable for longer periods of time, allowing you to focus on your artwork instead of constantly having to stop and mix your paints.
In this article, we will discuss the benefits and steps to create a DIY wet palette. We will also provide tips on how to maintain your wet palette to ensure maximum effectiveness throughout your painting project.
Diy Wet Palette Introduction
I used to struggle with keeping my paint wet while working on my art, but after discovering DIY wet palettes, I have eliminated this problem from my painting sessions. The basic concept of a wet palette is simple: it keeps your paint from drying out by maintaining a level of moisture in the palette. The best part is that you can easily create your own wet palette with a few affordable items from your local craft store.
Steps to Create Your Own DIY Wet Palette
Creating your DIY wet palette is quite simple and affordable. You will need a container, some sponges, and some parchment paper. Follow these simple steps to create your very own wet palette:
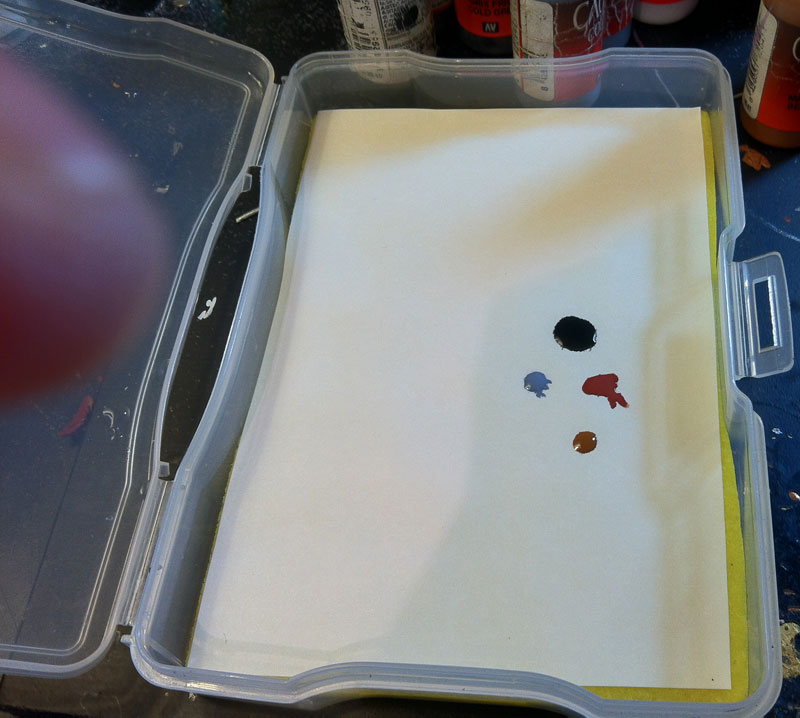
- Take a container with a flat surface and dampen a couple of sponges with water. Then, place the sponges inside the container.
- Cut a piece of parchment paper that fits the size of your container's flat surface and place it on top of the damp sponges.
- Add a small amount of water to the parchment paper until it's moist, but not soaked through.
- Now, add your paint on the wet parchment paper and voila! You have your own DIY wet palette.
Tips to Maintain Your Wet Palette
It's important to maintain your wet palette to ensure that it remains effective throughout your painting project. Here are a few tips to keep in mind:
- Replace the sponge and parchment paper frequently to prevent bacteria growth.
- Remove any excess paint or debris from the palette before placing new paint on it.
- Keep the container sealed when not in use to prevent evaporation.
The Benefits of Using a DIY Wet Palette
A DIY wet palette can help improve your painting experience in many ways. Here are a few benefits to keep in mind:
- Keeps your paint moist and workable for longer periods of time, reducing the need to constantly stop and mix your paints.
- Reduces paint waste and saves you money in the long run.
- Allows for smoother blending and layering of paint for a more professional finish.
Common Questions About DIY Wet Palettes
Here are a few common questions about DIY wet palettes:
1. How long can I keep my paints wet on a DIY wet palette?
You can keep your paints moist and workable for several hours on a DIY wet palette if you maintain it correctly. However, it's always best to replace the parchment paper and sponge frequently to prevent bacteria growth and keep your paint fresh.
2. What kind of container should I use for my DIY wet palette?
You can use any container with a flat surface and a tight-fitting lid. Some popular options include Tupperware containers, plastic boxes, and old CD cases.
3. Can I use any kind of sponge for my DIY wet palette?
It's best to use a natural cellulose sponge that doesn't contain any added chemicals. You can also use a synthetic sponge, but make sure to rinse it well before use to remove any chemicals or residue.
4. Can I use a DIY wet palette for oil paints?
It's not recommended to use a DIY wet palette for oil paints as they take a longer time to dry and can easily become too watery on a wet palette. A better alternative for oil paints would be a stay-wet palette designed specifically for oil painting.
Conclusion
In conclusion, a DIY wet palette is a simple and affordable solution for keeping your acrylic paints moist and workable for longer periods of time. With a few easy steps, you can create your own wet palette at home and enjoy the benefits of smoother blending and reduced paint waste. Remember to maintain your wet palette by replacing the sponge and parchment paper frequently, and always seal the container when not in use. Happy painting!
Gallery
Stay Wet Palette DIY - Making Your Own Sta Wet Palette - Tina Lewis Art

Photo Credit by: bing.com / palettes tinalewisart
How To Make A Wet Palette In 3 Simple & Affordable Steps
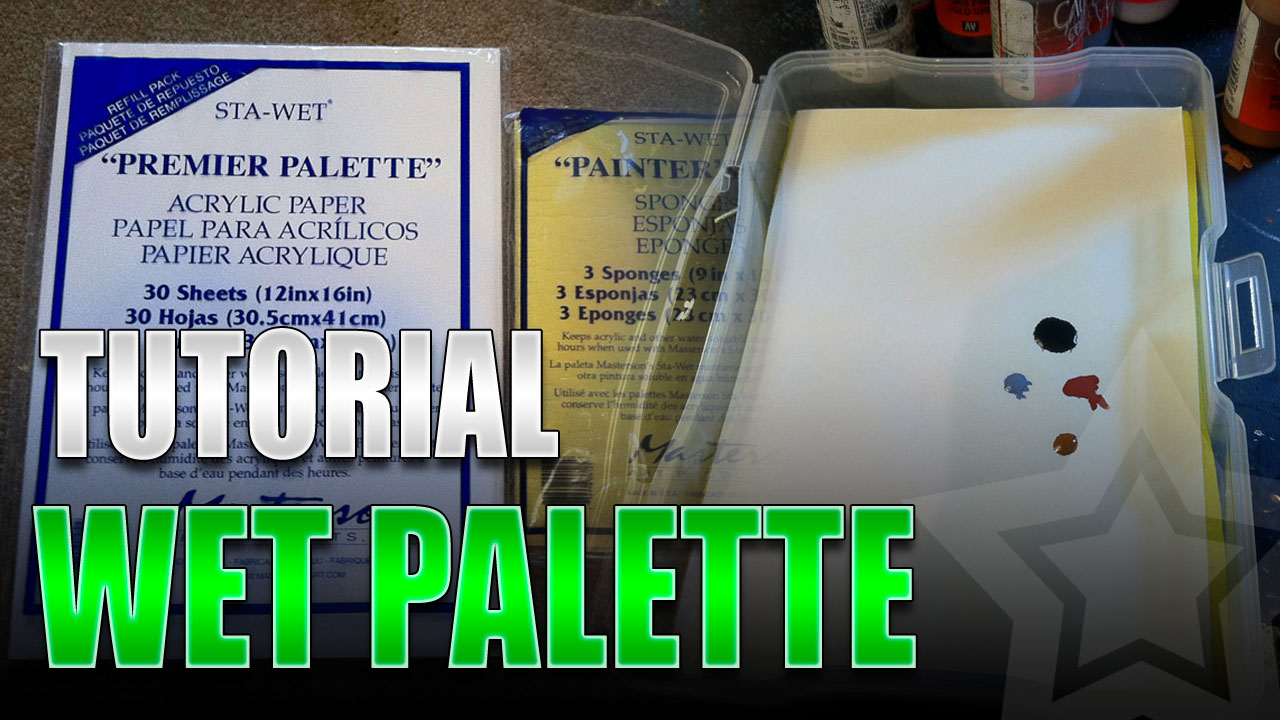
Photo Credit by: bing.com / palette wet make diy affordable steps simple
How To Make A Wet Palette In 3 Simple & Affordable Steps
Photo Credit by: bing.com / wet palette diy painting creativetwilight make set board improve greatly acrylic cheap easy choose paint
Best Paper For Wet Palettes (Recommendation) - Tangible Day

Photo Credit by: bing.com / palettes recommendation miniatures
How To Make A Wet Palette In 3 Simple & Affordable Steps
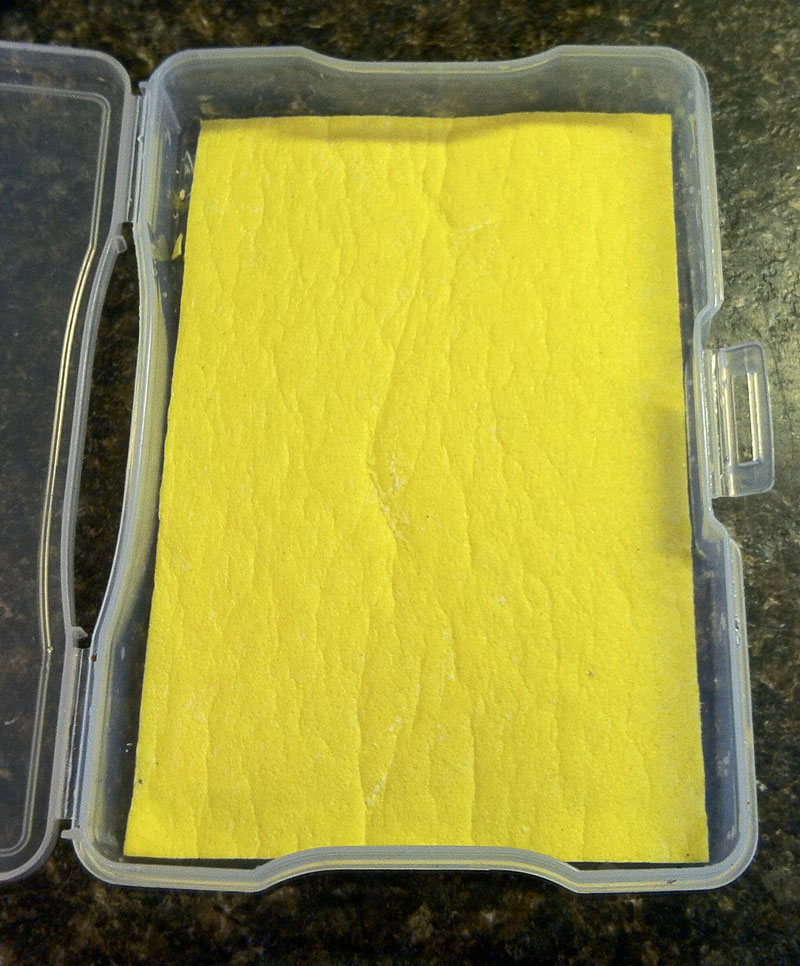
Photo Credit by: bing.com /